


All About Rub-on Stickers!
Step-by-step guide to using rub-on stickers
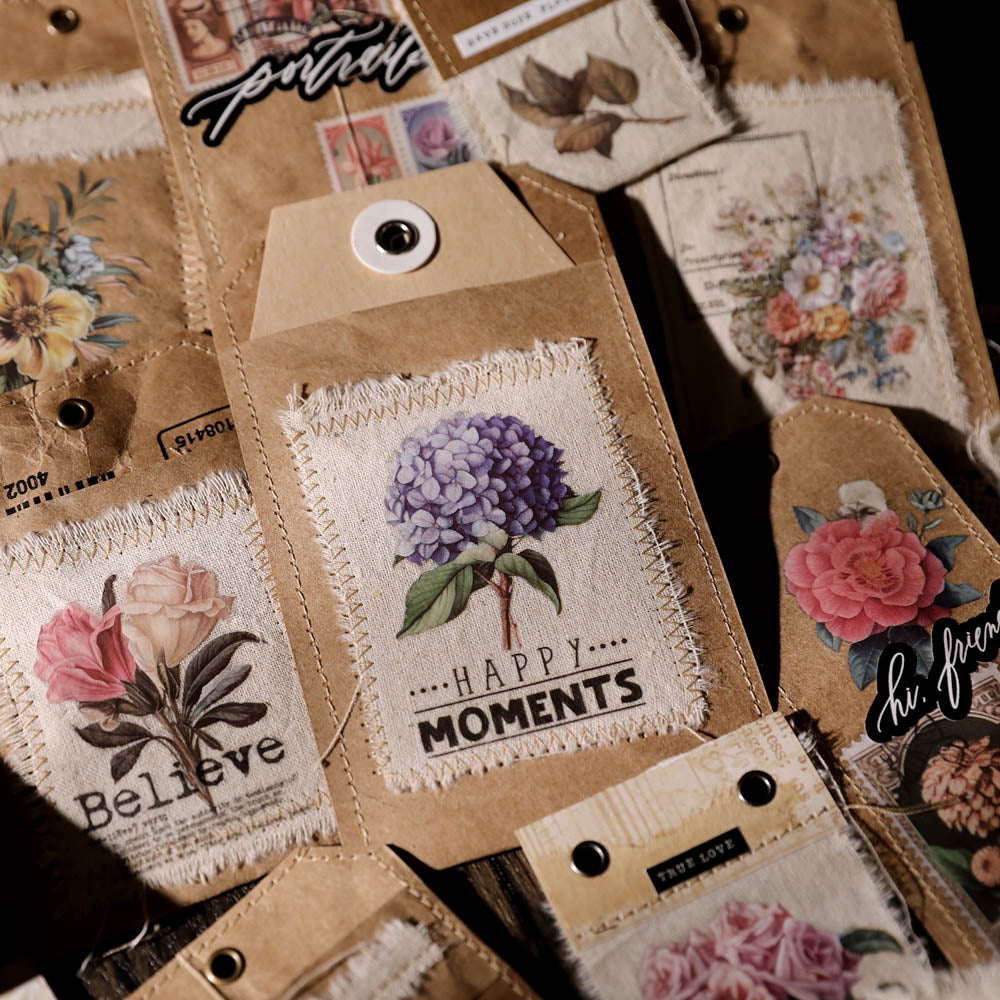
We designed our rub-on stickers to be as simple and intuitive to use as possible. This means less fuss and frustration over how to get them to work, and more fun doing the crafting you love! Here's a step-by-step guide on how to use our rub-on stickers:
- Cut out and place the selected sticker on your desired surface.
- Carefully rub over the sticker with a hard, solid object like a coin or ruler.
- Carefully remove the protective foil layer on top of the sticker once the sticker has been firmly applied.
When attempting to apply the sticker, ensure that there is a hard surface below the area of application. This will help ensure that your transfers are effective. Applying the sticker while there's a soft surface below the area of application will usually end up with the sticker not being transferred fully.
If you're still not confident, why not take a look at some of the videos featuring our rub-on stickers from our popular affiliates below? You might even get some creative inspiration from them!
Commonly Asked Questions
What surfaces can our rub-on stickers be applied on?
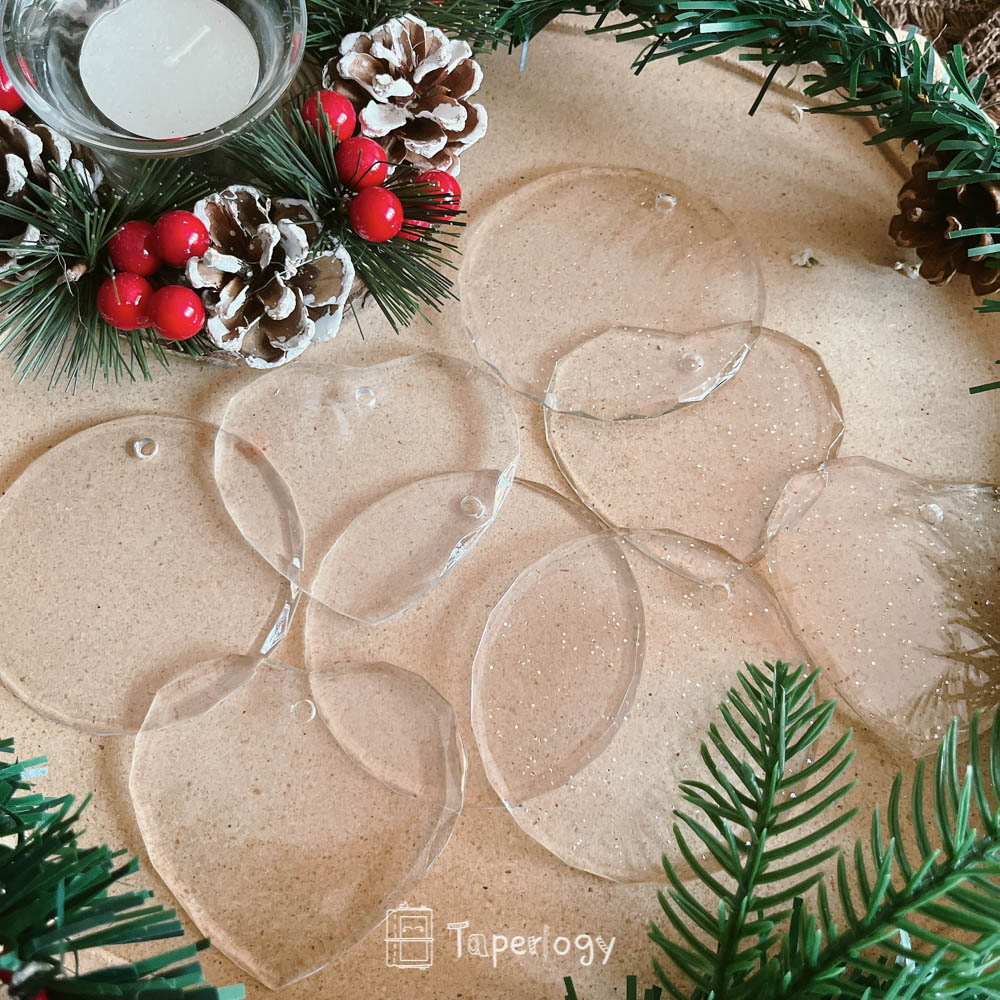
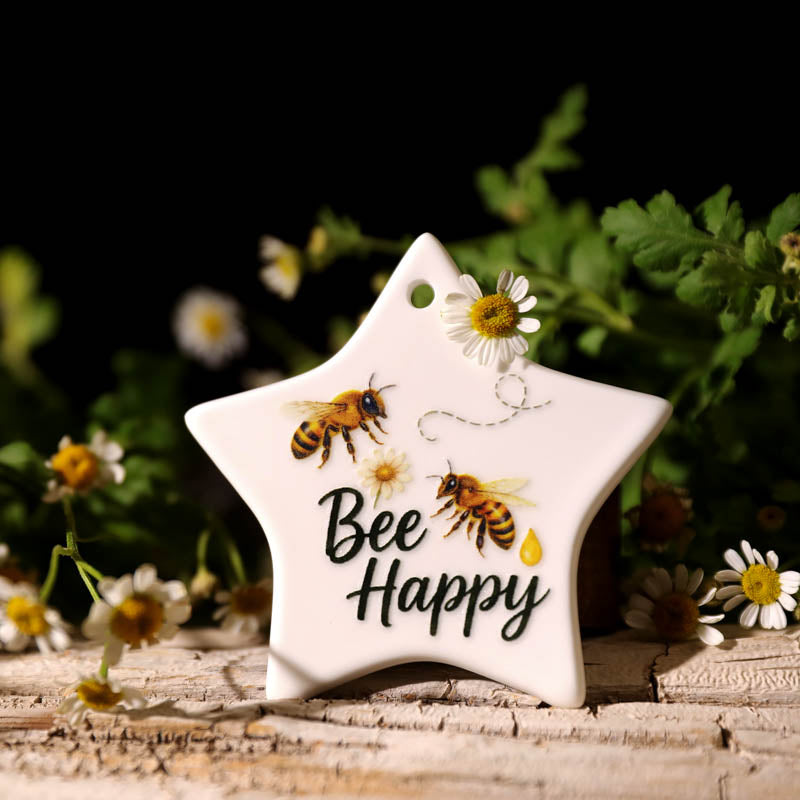
Our rub-on stickers are versatile and can be applied to various smooth surfaces such as paper, plastic, acrylic, fabric, wood, metal, rock and glass, among others. However, please note that they may not adhere well to silicone, latex, or matte surfaces.
Are our rub-on stickers washable?
While our rub-on stickers are water-resistant, they are not waterproof. Excessive exposure to water may result in damage, so they are not washable or suitable for laundering.
Please be aware that this product is not specifically designed for application on everyday clothing that requires frequent washing. Its features are primarily intended for paper-crafting purposes.
Can our rub-on stickers be used with resin / decoupage / varnish?
Compatibility with our rub-on stickers depends entirely on the type of clear coat being used.
Applying a clear coat layer over our rub-on stickers for protection is possible and can provide an additional layer of protection for both the sticker and the surface. Doing so can also enhance the longevity of the sticker's vibrant colors and prevent any potential fading or peeling over time.
In order to ensure a successful clear coating, we would strongly recommend you ensure that the clear coat you chose is compatible with the sticker material. Some clear coats may react adversely with certain types of stickers, causing them to warp, discolor, or peel.
Before proceeding with applying the clear coat, we suggest testing it on a small, inconspicuous area of the sticker to ensure compatibility and to see if there are any adverse effects. This way, you can confirm that the clear coat does not cause any unintended changes or reactions on the sticker's surface.
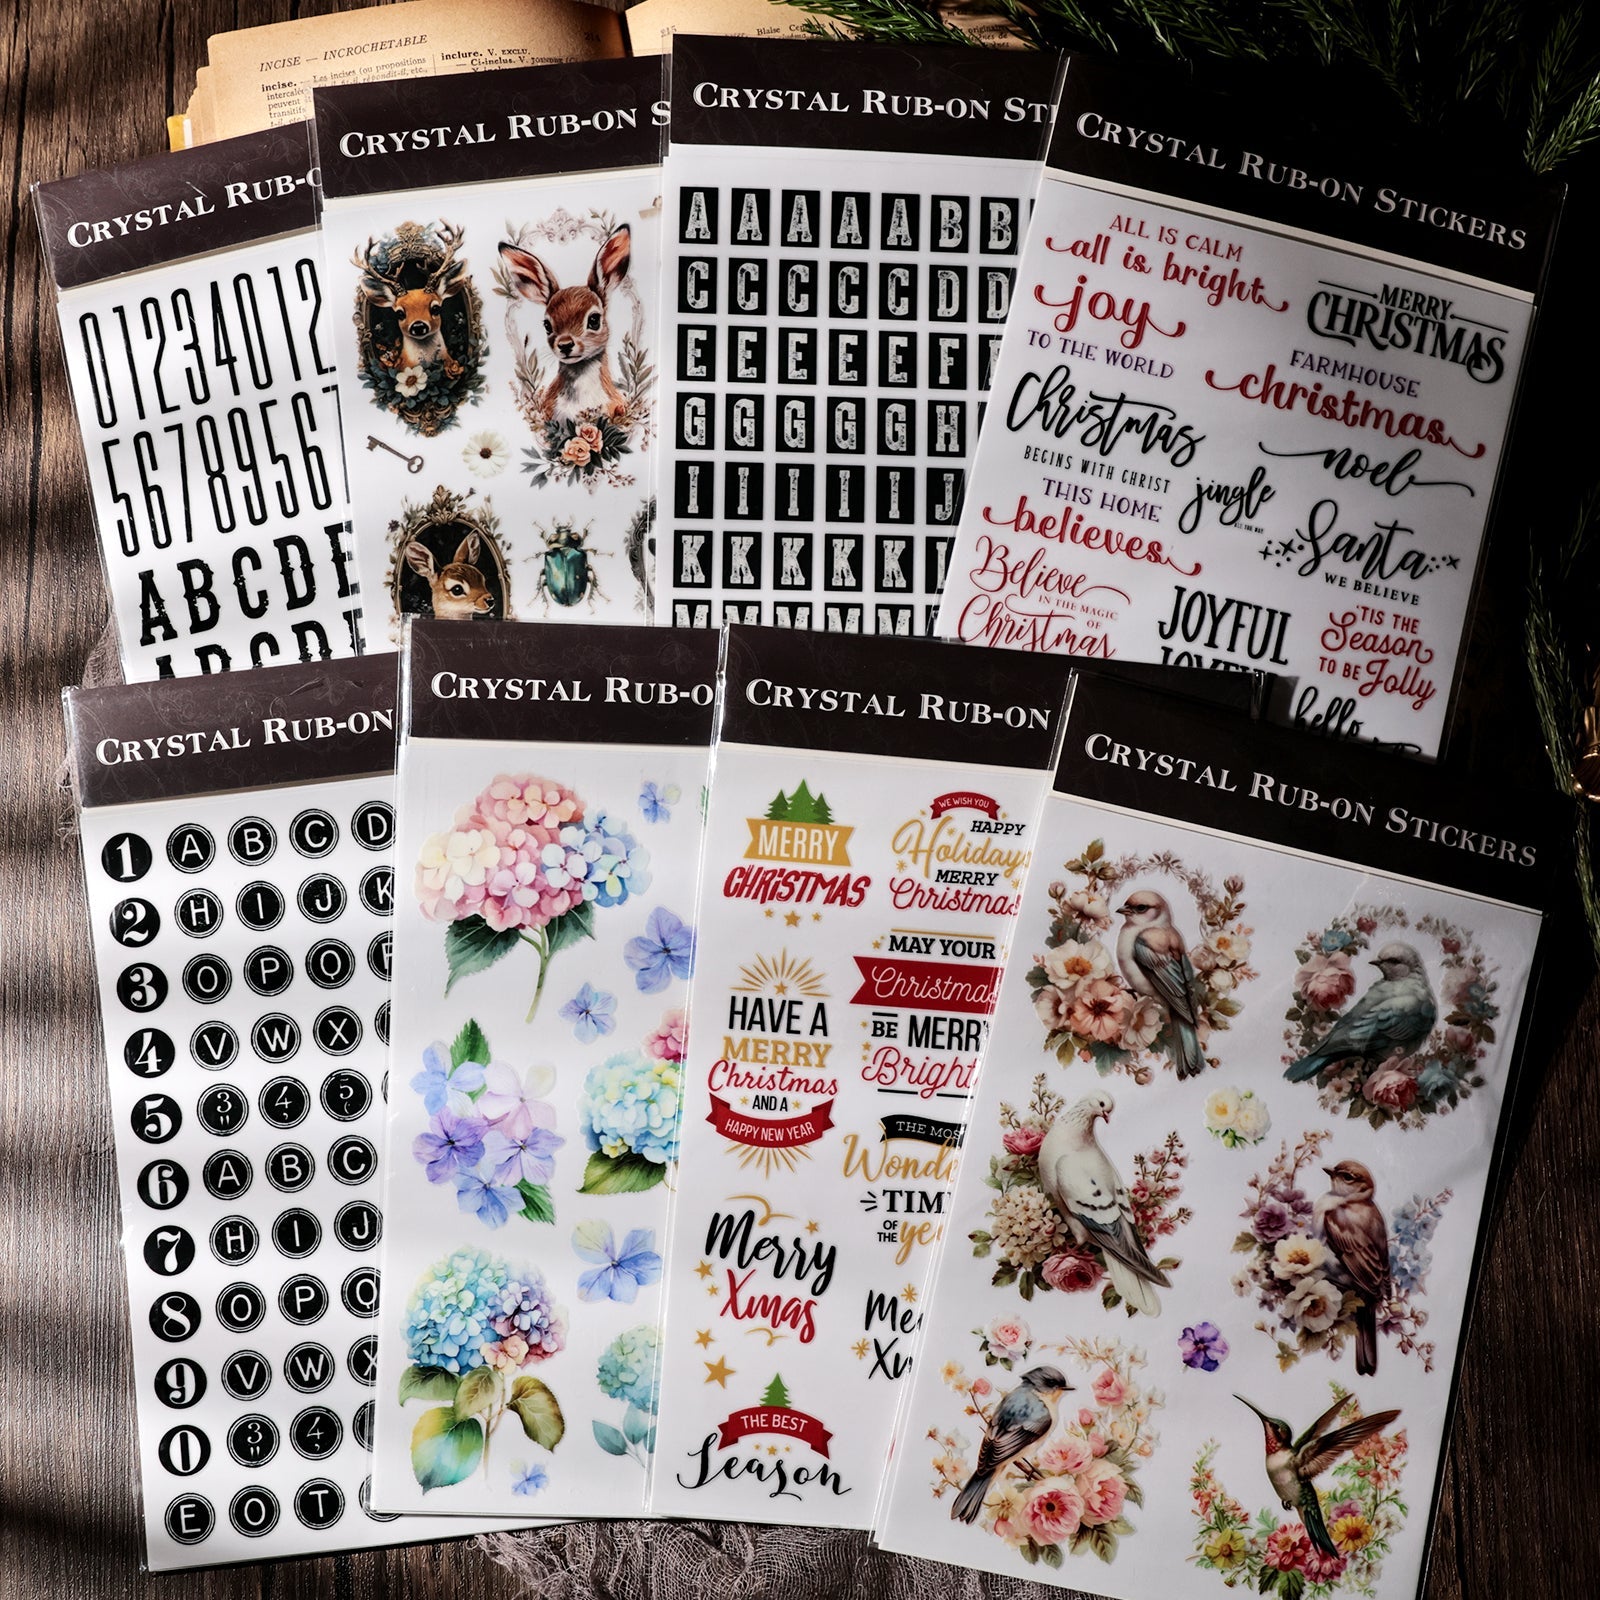
What are the main differences between our traditional rub-on stickers and our crystal rub-on stickers?
Surface Compatibility
our traditional rub-on stickers work best on smooth, flat surfaces such as paper, plastic, fabric, wood, metal, and glass, among others.
In comparison, our crystal rub-on stickers work with most smooth and hard surfaces, such as metal, glass, ceramic and plastic. They do not work well with soft, flexible surfaces such as fabric and thin paper. Cardboard like paper materials could work, depending on the thickness and hardness.
Durability
Our traditional rub-on stickers are neither waterproof not scratchproof. They are more suitable for decorative purposes in scrapbooking and other crafts.
In comparison, our crystal rub-on stickers are both water resistant and scratch resistant due to the protective film covering them. That being said, they cannot be machine washed due to the high heat and pressure in such machines, and must be carefully washed by hand.
Finish
Our traditional rub-on stickers can have either matte or glossy finishes, depending on the design.
In comparison, our crystal rub-on stickers have a glossy finish due to the protective clear film layer.
Color
Our traditional rub-on stickers tend to have more pastel-like, muted colors. Some of them might be vibrant, but it varies between sticker packs.
In comparison, our crystal rub-on stickers have extremely vibrant colors, due to the ultraviolet inks used and the glossy finish of the sticker.
Technical Help
I'm having trouble applying the rub-on sticker effectively!
In some rare occasions, our customers have reported that the rub-on adhesive is not as effective as they would like it to be. This is likely due to the cold winter weather, which can affect effectiveness of the rub-on adhesive slightly.
Should you find yourself having trouble applying the rub-on stickers effectively, we would recommend applying some minor heat to the adhesive of the rub-on stickers in order to warm up and slightly melt the adhesive to increase its effectiveness. This could be done using a glass of hot water or the flame of a candle to heat up the adhesive.
Alternatively, you could also place a piece of cloth on top of the sticker and iron the cloth, which should also apply sufficient heat to increase the effectiveness of the adhesive. Once you've applied the heat for a short period of time, the rub-on stickers should become easier to apply effectively!
My rub-on stickers tend to be a little sticky after application!
Although we rarely get complaints from our customers about this issue, you might find yourself facing this issue with other rub-on stickers!
Should you find that the rub-on stickers you are using tend to be sticky and cause pages to stick together, we would recommend using a tiny bit of talcum powder over the rub-on sticker, which will likely get rid of any stickiness!
Affiliate Video Guides
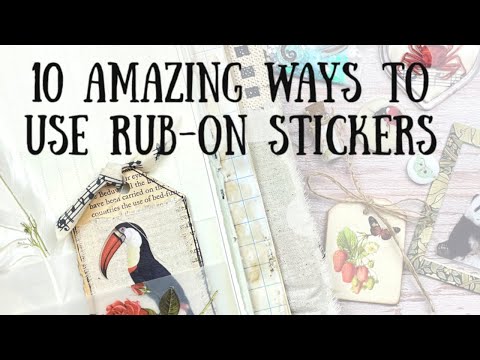
10 amazing ways to use rub-on stickers with ShanoukiArt
Be inspired as Shanouki demonstrates 10 amazing ways to use rub-on stickers from Taperlogy!
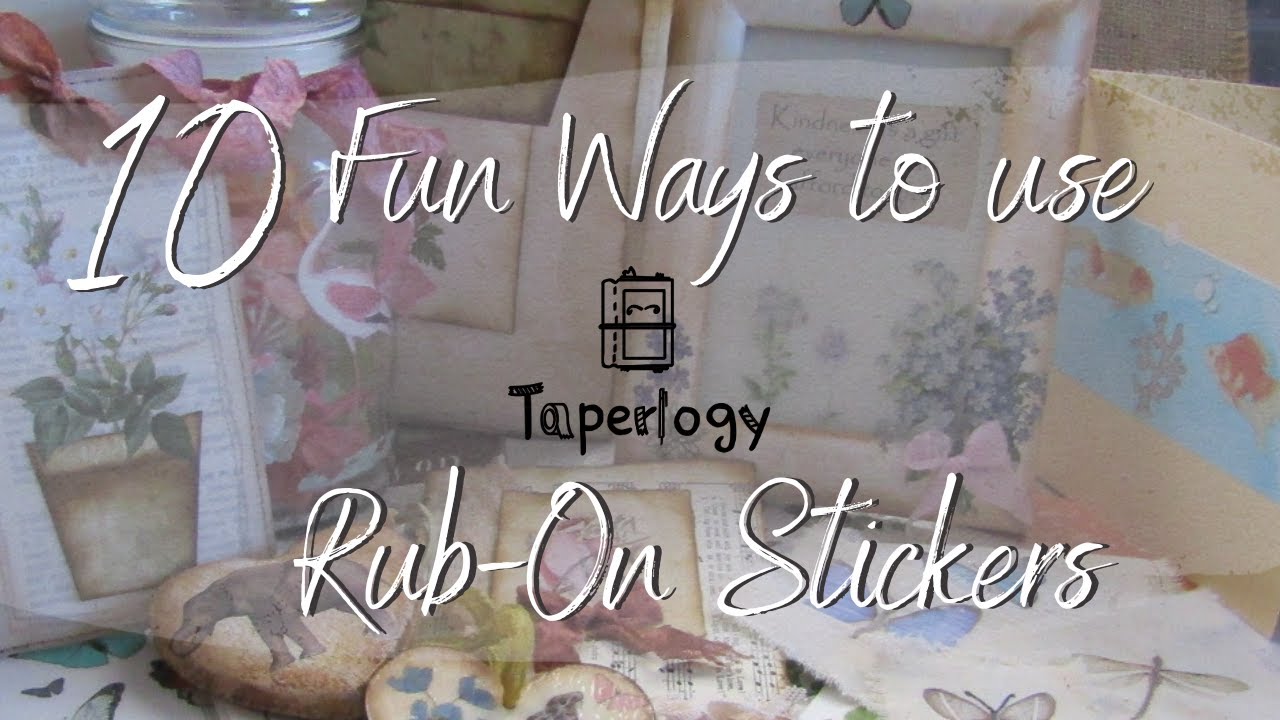
10 fun ways to use Taperlogy Rub-ons with Gi Kerr
Gi shows us her 10 favourite ways to use our rub-ons in her crafts!
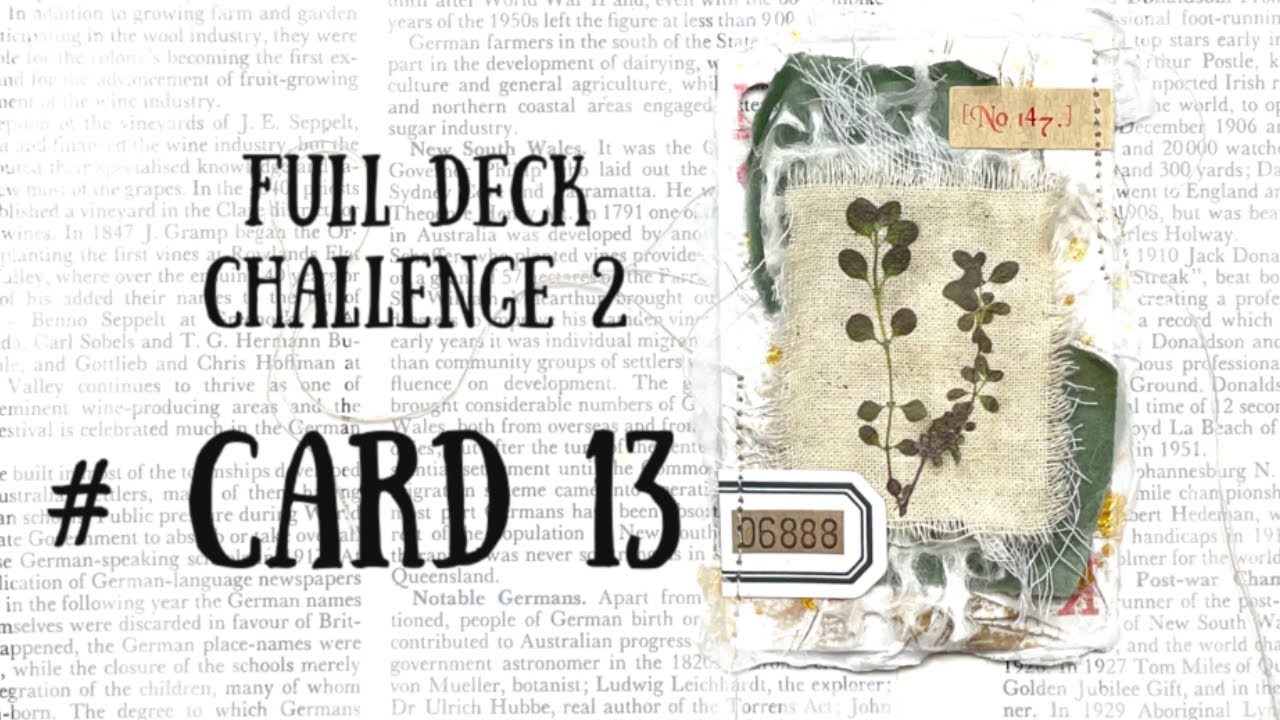
The Full Deck Challenge with ShanoukiArt
Watch Shanouki complete her full deck challenge using rub-on stickers from Taperlogy!
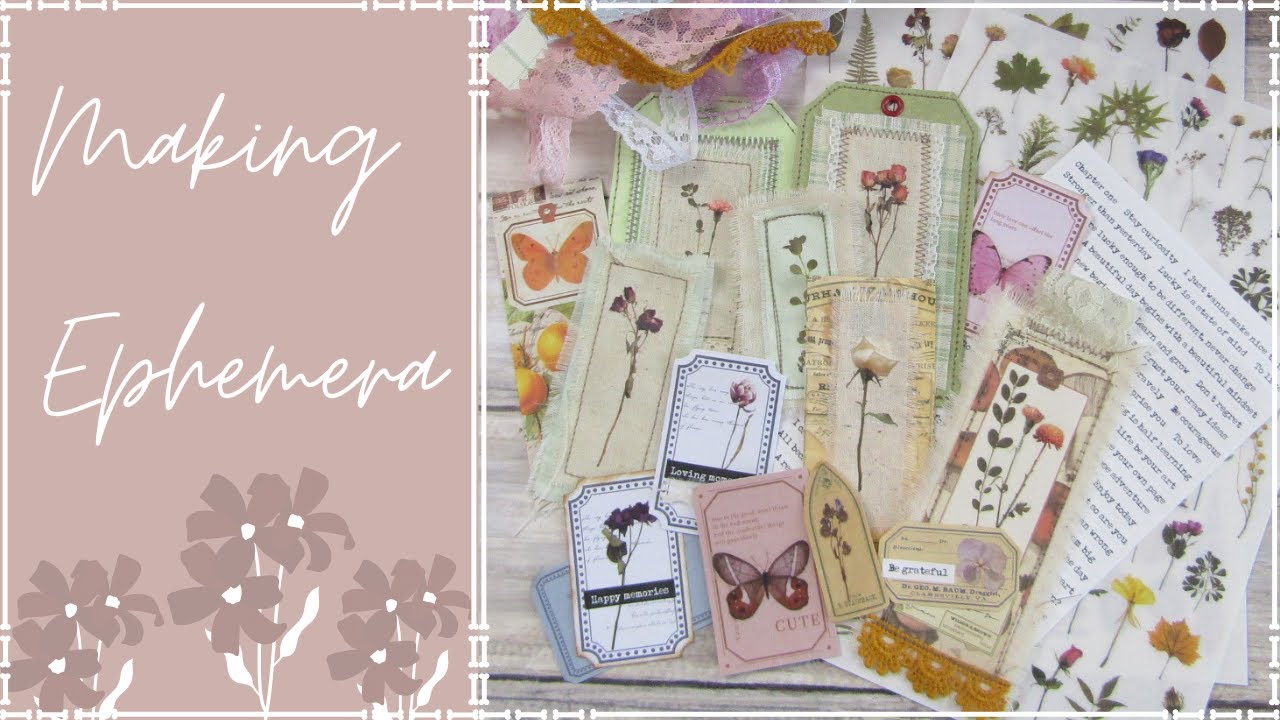
Making Ephemera with Gi Kerr
Learn how Gi creates gorgeous ephemera with our bestselling rub-on stickers!
Still have unanswered questions?
Let us know, and we'll do our best to help!